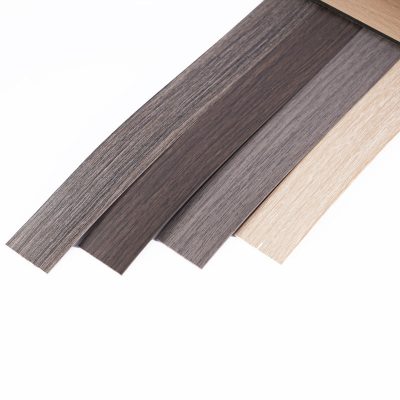
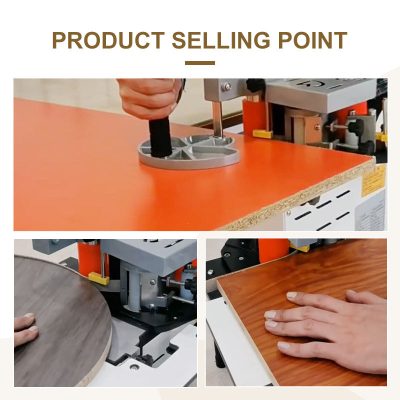
Melamine edge banding is a cost-effective and durable way to give your furniture a polished and professional look. Whether you’re working on a DIY project or refurbishing old furniture, applying melamine edge banding can be a straightforward task with the right tools and techniques. In this guide, we’ll walk you through the process step-by-step.
What You Will Need
Before you begin, gather the following materials and tools:
- Melamine edge banding
- Edge banding trimmer
- Utility knife
- Sandpaper (150-grit)
- Iron or edge banding machine
- Measuring tape
- Scissors
- Clean cloth

Step-by-Step Instructions
Step 1: Measure and Cut the Edge Banding
- Measure the Edge: Measure the length of the edge you want to cover with melamine edge banding. Ensure you have enough banding to cover the entire edge.
- Cut the Banding: Use scissors to cut the melamine edge banding to the desired length. Leave a little extra at both ends to ensure complete coverage.
Step 2: Prepare the Surface
- Clean the Surface: Ensure the edge of the board is clean and free from dust or debris. Use a clean cloth to wipe down the surface.
- Sand the Edge: Lightly sand the edge with 150-grit sandpaper to ensure a smooth surface for the adhesive to bond.
Step 3: Apply the Melamine Edge Banding
- Position the Banding: Place the melamine edge banding on the edge of the board. Make sure it is centered and covers the edge evenly.
- Heat the Adhesive: If you are using an iron, set it to a medium heat setting without steam. If you have an edge banding machine, follow the manufacturer’s instructions.
- Apply Heat: Run the iron or edge banding machine slowly along the edge banding, applying even pressure. The heat will activate the adhesive on the melamine banding.

Step 4: Secure the Edge Banding
- Press Firmly: While the adhesive is still hot, press down firmly on the edge banding to ensure a good bond. Use a flat tool or a wooden block to press evenly.
- Trim the Excess: Once the adhesive has cooled, use an edge banding trimmer or a utility knife to trim off the excess banding. Be careful to avoid damaging the surface.
Step 5: Finish the Edges
- Smooth the Edges: Use sandpaper to smooth any rough edges and to ensure a seamless finish. Sand lightly to avoid removing too much material.
- Clean Up: Wipe down the edge with a clean cloth to remove any sanding dust.
Tips for a Professional Finish
- Practice First: If you’re new to edge banding, practice on a scrap piece of wood before tackling your main project.
- Consistent Heat: Ensure the iron or edge banding machine maintains consistent heat to avoid uneven bonding.
- Trim Carefully: Take your time when trimming the excess banding to avoid chipping or damaging the edge.
Conclusion
Applying melamine edge banding is a simple yet effective way to enhance the look of your furniture. By following these steps and using the right tools, you can achieve a professional finish that will last for years. Whether you’re working on a new project or updating old furniture, melamine edge banding can give your pieces a clean, finished look.


