
Yes, you can use a regular household iron for edge banding, but it’s important to follow some precautions and take certain considerations into account to ensure a successful and safe application. Edge banding with a regular iron is a cost-effective alternative to specialized edge banding irons or machines. Here’s how to do it:
Materials You’ll Need:
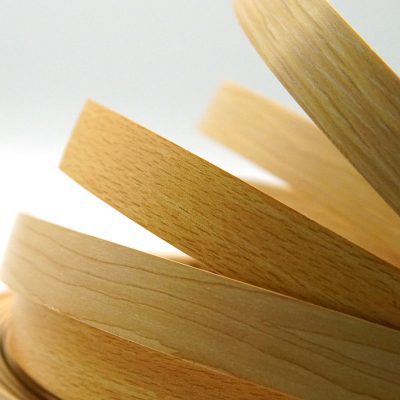
- Edge Banding: Choose the type of edge banding material suitable for your project, such as Acrylic edge banding , ABS edge banding, wood, or veneer.
- Adhesive: Use the appropriate adhesive for your specific edge banding material, which might be hot melt adhesive for PVC and ABS or wood glue for wood or veneer.
- Regular Household Iron: Ensure that the iron has a temperature control and can reach the desired temperature for activating the adhesive.
- Backing or Parchment Paper: To protect the iron and the edge banding during the application process.
- Edge Banding Trimmer: To trim excess material flush with the edge.
Steps:
- Prepare the Edge Banding:
- Cut the edge banding to the desired length, allowing a slight overhang on both ends.
- Position and Apply the Adhesive:
- If using hot melt adhesive, apply a thin, even layer of adhesive to both the edge banding and the substrate (the surface you are applying the banding to). Allow it to set according to the adhesive manufacturer’s instructions.
- If using wood glue or other non-heat-activated adhesives, apply the adhesive to both surfaces and let it become tacky before proceeding.

- Heat the Regular Iron:
- Set the regular household iron to the appropriate temperature. The temperature will vary depending on the type of adhesive and edge banding material you are using. Consult the manufacturer’s instructions for the recommended temperature.
- Protect the Iron:
- Place a layer of backing or parchment paper over the edge banding to protect both the iron and the edge banding from direct contact.
- Activate the Adhesive:
- Run the protected iron over the backing paper, applying even pressure and moving it slowly along the length of the edge banding. This will activate the adhesive.
- Press and Trim:
- Immediately after activating the adhesive, press the edge banding firmly onto the substrate, ensuring even pressure for a secure bond.
- Trim any excess edge banding material using an edge banding trimmer or a utility knife. Trim carefully to achieve a flush and neat edge.
Using a regular iron for edge banding is a practical option, especially for smaller projects and DIY applications. However, it may have limitations in terms of temperature control and even heat distribution compared to dedicated edge banding irons. If you plan to do edge banding regularly or on larger projects, investing in a dedicated edge banding iron may be more convenient and efficient.