
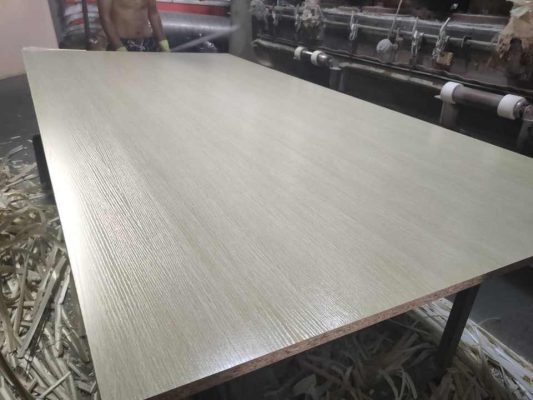
Gluing edge banding to particle board is a common practice in woodworking and cabinetmaking to create a clean, finished edge and protect the particle board from moisture. Here are the steps to glue edge banding to particle board:
Materials You’ll Need:
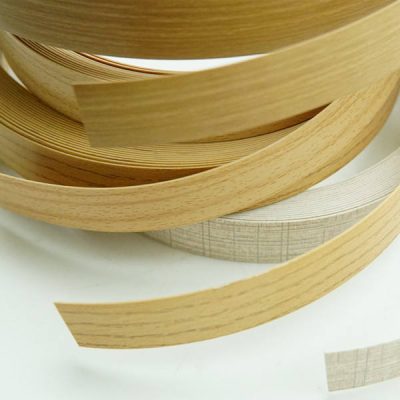
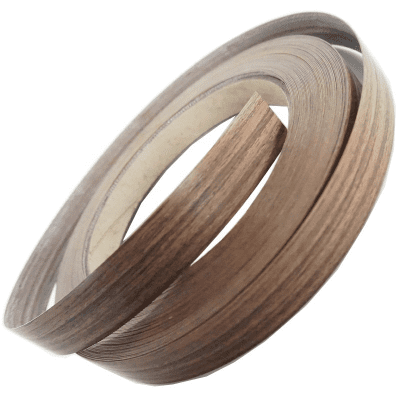
- Edge Banding: Choose the type of edge banding material you prefer, such as PVC, ABS, wood, or veneer.
- Adhesive: Use an appropriate adhesive for your edge banding material. For example, PVC edge banding typically requires a hot melt adhesive, while wood or veneer edge banding may use wood glue.
- Edge Banding Trimmer: This tool is used to trim the excess edge banding material flush with the particle board edge.
- Edge Banding Iron (if applicable): If you’re working with heat-activated edge banding, an edge banding iron is essential to activate the adhesive.
Steps:
- Prepare the Particle Board:
- Ensure that the particle board edge is clean and free from any dust, debris, or contaminants.
- Sand the edge to make it smooth and free of any imperfections that could affect the bond.
- Cut and Position the Edge Banding:
- Cut the edge banding to the desired length, allowing a slight overhang on both ends.
- Align the edge banding with the particle board edge, ensuring that it’s flush and properly centered.
- Apply the Adhesive:
- If using hot melt adhesive, apply a thin, even layer of adhesive to both the particle board edge and the back of the edge banding. Allow it to set according to the adhesive manufacturer’s instructions.
- If using wood glue or other non-heat-activated adhesives, apply the adhesive to both surfaces and let it become tacky before proceeding.
- Activate the Adhesive (for Heat-Activated Edge Banding):
- If you’re working with heat-activated edge banding (such as PVC or ABS), use an edge banding iron to activate the adhesive. Follow the temperature and time recommendations provided by the edge banding manufacturer.
- Press and Trim:
- Immediately after activating the adhesive (or once the adhesive is tacky for non-heat-activated types), press the edge banding firmly onto the particle board edge. Use a roller or a block to ensure even pressure and a secure bond.
- Trim any excess edge banding material using an edge banding trimmer or a utility knife. Trim carefully to achieve a flush and neat edge.
- Finishing Touches:
- If you’re using wood or veneer edge banding, you can stain and finish it to match the particle board or achieve the desired appearance.
- Once the adhesive has fully cured or set, the edge banding is securely attached and can be sanded and finished as needed.
Proper preparation, alignment, adhesive selection, and trimming are essential to ensure a professional and long-lasting result. Following the manufacturer’s recommendations for both the edge banding material and the adhesive is crucial for a successful application.