
To glue PVC edging to plywood, follow these steps for a strong and durable bond:
Materials You’ll Need:
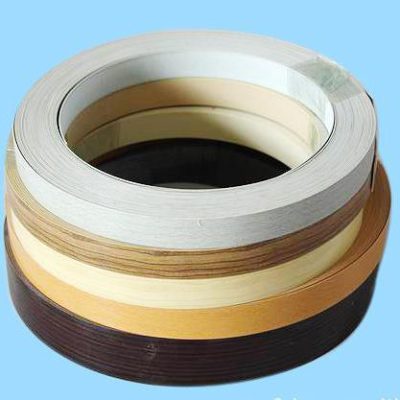
- PVC edge banding
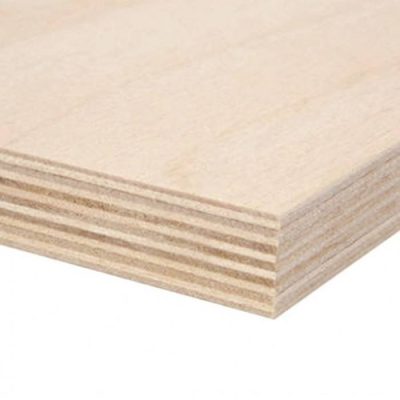
- Plywood
- PVC edge banding adhesive (typically a hot melt adhesive)
- Edge banding trimmer or utility knife
- Edge banding roller or a block of wood
- Clothes iron or edge banding machine with a heated applicator
- Sandpaper (optional)
- Soft cloth or rag
Step-by-Step Instructions:
- Prepare the Plywood:
- Ensure the plywood edge is clean, dry, and free from any dust, dirt, or debris. If the edge is rough or uneven, you can sand it lightly to create a smooth surface.
- Cut the PVC Edge Banding:
- Cut the PVC edge banding to the length of the plywood edge, leaving a slight overhang on both ends for trimming later. You can use scissors or a utility knife to cut the edge banding to size.
- Preheat the Iron or Edge Banding Machine:
- If you’re using a clothes iron, preheat it to the appropriate temperature for your PVC edge banding adhesive. Refer to the manufacturer’s instructions for the recommended temperature setting.
- Apply Adhesive to the Plywood:
- Apply a thin, even layer of PVC edge banding adhesive to the plywood edge. You can use a small paintbrush or a specialized adhesive applicator. Be sure to cover the entire edge evenly.
- Position the PVC Edge Banding:
- Quickly place the cut PVC edge banding onto the plywood edge, aligning it carefully. Ensure that there’s a slight overhang on both ends for trimming.
- Heat and Press the Edge Banding:
- If you’re using a clothes iron, use a soft cloth or a piece of parchment paper to protect the edge banding’s surface. Apply the iron to the edge banding, moving it slowly along the length. The heat will activate the adhesive, and the edge banding will adhere to the plywood. Use a block of wood or an edge banding roller to firmly press the edge banding in place, ensuring good contact.
- Trim the Excess Edge Banding:
- Once the edge banding is securely attached, trim the excess material using an edge banding trimmer or a sharp utility knife. Trim carefully along the edges of the plywood for a clean finish.
- Final Check and Cleanup:
- Inspect the edge banding for any imperfections or loose sections. If needed, you can reheat and reposition any loose areas and then retrim.
- Clean up any adhesive residue on the surface of the edge banding or plywood using a soft cloth or a solvent recommended by the adhesive manufacturer.
- Allow the Bond to Set:
- Give the edge banding adhesive sufficient time to cool and set. This typically takes a few minutes.
Once the PVC edge banding is securely attached, it should provide a clean and durable finish to the plywood edge. Properly applied edge banding not only enhances the appearance but also helps protect the plywood from moisture and damage.