
Installing melamine edge banding involves applying a thin strip of melamine material to the exposed edges of a substrate, typically made of particleboard, MDF (medium-density fiberboard), or plywood. The edge banding serves to protect the edges and create a finished, cohesive look. Here’s a step-by-step guide on how to install melamine edge banding:
Tools and Materials Needed:
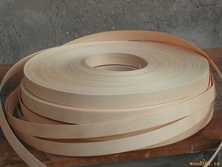
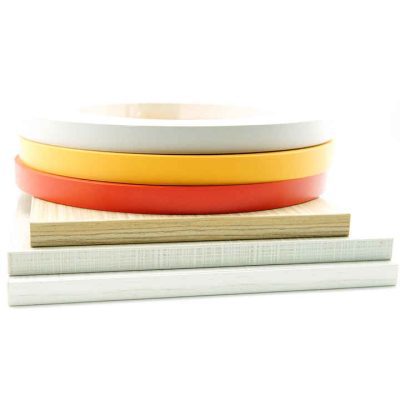
- Melamine Edge Banding:
- Ensure that you have enough edge banding to cover all the exposed edges of your substrate.
- Utility Knife or Razor Blade:
- Used for cutting the melamine edge banding to the required length.
- Edge Banding Trimmer or Router:
- A specialized tool for trimming excess edge banding flush with the substrate.
- Edge Banding Roller:
- Used to apply pressure to the edge banding, ensuring proper adhesion.
- Household Iron or Edge Banding Machine:
- An iron or specialized edge banding machine to activate the adhesive on the melamine edge banding.
Installing melamine edge banding steps:
- Prepare the Substrate:
- Ensure that the edges of the substrate are clean, smooth, and free from any dust or debris. Sand the edges if necessary to create a smooth surface for the edge banding.
- Cut the Melamine Edge Banding:
- Measure each edge to be covered and cut the melamine edge banding strips slightly longer than the length of the edges. This allows for a slight overhang on each end.
- Apply Heat to the Edge Banding:
- If using pre-glued melamine edge banding, use a household iron or edge banding machine to apply heat along the adhesive side of the edge banding. Move the iron or machine back and forth to evenly distribute the heat.
- Position the Edge Banding:
- Once the adhesive is activated, carefully position the melamine edge banding along the edge of the substrate. Ensure proper alignment and press the edge banding onto the substrate.
- Use an Edge Banding Roller:
- Apply pressure to the edge banding using an edge banding roller. This helps ensure good contact between the adhesive and the substrate.
- Trim Excess Edge Banding:
- Once the edge banding is securely in place, use an edge banding trimmer or a router to trim the excess material flush with the surface of the substrate. Hold the trimmer at a slight angle to create a beveled edge.
- Repeat for Other Edges:
- Repeat the process for each edge to be covered with melamine edge banding.
- Inspect and Sand:
- Inspect the edges for any imperfections or unevenness. If necessary, lightly sand the edges to achieve a smooth and finished look.

- Inspect the edges for any imperfections or unevenness. If necessary, lightly sand the edges to achieve a smooth and finished look.
Tips:
- Work in Sections: If you’re working on a large piece of furniture, it may be helpful to work on one section at a time to ensure proper alignment and adhesion.
- Follow Manufacturer’s Instructions: Always follow the manufacturer’s instructions for the specific melamine edge banding product you are using, as application temperatures and techniques may vary.
By following these steps, you can achieve a professional and durable finish with melamine edge banding.