
Applying pre-glued PVC edge banding is a relatively simple process, and it eliminates the need for separate adhesive application. Here’s a step-by-step guide on how to apply pre-glued PVC edge banding:
Materials and Tools Needed:
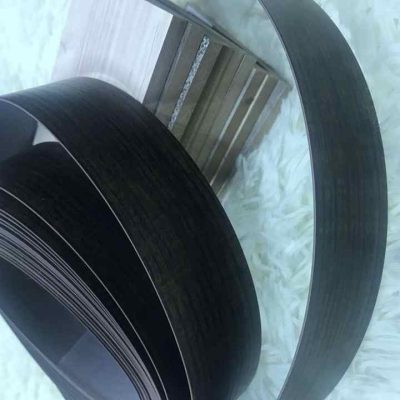
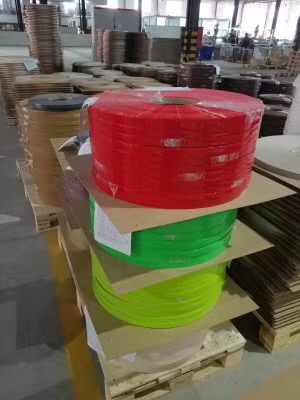
- Pre-Glued PVC Edge Banding: Ensure that the edge banding matches the color, pattern, and width requirements for your project.
- Household Iron or Edge Banding Machine: To activate the adhesive on the pre-glued edge banding.
- Wooden Block or Roller: To apply even pressure during the bonding process.
- Trimming Tools: Such as a trimmer or a sharp utility knife.
Steps:
1. Prepare the Substrate:
- Ensure that the substrate’s edge is clean, smooth, and free from dust or debris. Sand the edge if necessary to create a smooth surface.
2. Cut the Edge Banding:
- Cut the pre-glued PVC edge banding slightly longer than the substrate’s edge. Leave a small overhang on each end.
3. Position the Edge Banding:
- Align the edge banding with the substrate’s edge. Carefully position it to ensure an even overhang on both ends.
4. Activate the Adhesive:
- Place the pre-glued edge banding onto the substrate and use a household iron or an edge banding machine to apply heat to the surface of the banding. Move the iron or machine along the length of the edge banding to evenly activate the adhesive.
5. Apply Pressure:
- Immediately after applying heat, use a wooden block or roller to apply even pressure along the entire length of the edge banding. This helps ensure proper adhesion between the banding and the substrate.
6. Allow to Cool:
- Allow the glued edge banding to cool and set. This typically takes a few minutes. Avoid disturbing the bond during this time.
7. Trim Excess Edge Banding:
- Once the adhesive has set, trim the excess edge banding using a trimmer or a sharp utility knife. Trim along the edges of the substrate for a clean and flush finish.
8. Optional: Sand Edges:
- Optionally, sand the edges to ensure a smooth and seamless transition between the edge banding and the substrate.
9. Clean Up Excess Glue:
- If any adhesive has squeezed out during the application, clean it up promptly using a suitable solvent or by scraping it off carefully.
10. Allow to Cure:
- Allow the applied edge banding to cure fully before subjecting it to stress or use. The curing time may vary depending on the specific adhesive used, so refer to the manufacturer’s recommendations.

Tips:
- Maintain Even Pressure:
- Applying even pressure during the activation process is crucial for proper adhesion. Ensure that the entire length of the edge banding receives consistent pressure.
- Check Alignment:
- Double-check the alignment of the edge banding before applying heat. Once the adhesive is activated, adjustments may be challenging.
- Use Proper Tools:
- Use trimming tools that are sharp and suitable for the material to achieve clean and precise cuts.
By following these steps and tips, you can successfully apply pre-glued PVC edge banding to achieve a professional and durable finish on your furniture or other projects.