
Using melamine edge banding effectively can greatly improve the appearance and durability of furniture and other wood-based projects. Here’s a guide on how to use melamine edge banding, which you can adapt for your website’s blog or instructional content:
 How to Use Melamine Edge Banding: A Step-by-Step Guide
 How to Use Melamine Edge Banding: A Step-by-Step Guide
Melamine edge banding is a popular choice for finishing the edges of particleboard, MDF, and other similar materials in cabinetry and furniture construction. It provides a clean, durable edge that can mimic the look of solid wood or other finishes. Here’s how you can apply melamine edge banding to your projects:
Materials Needed:
- Melamine edge banding
- Iron
- Trim router or edge trimmer
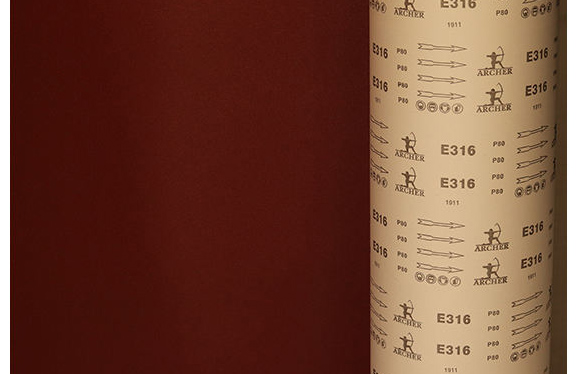
- Sandpaper (fine-grit)
- Clean cloth
Steps:
1. Prepare the Surface: Ensure that the edge of the substrate (particleboard, MDF, etc.) is smooth and free from dust. Any debris or roughness can result in a poor adhesion and finish.
2. Measure and Cut the Banding: Measure the length of the edge you will be covering. Cut the melamine banding slightly longer than this measurement to ensure full coverage. You can trim the excess later.
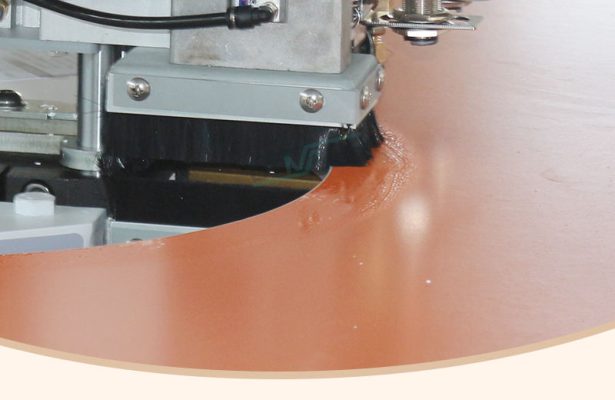
3. Apply the Banding: Melamine edge banding typically comes with a pre-applied hot-melt adhesive. Align the banding to the edge of the board. Starting from one end, slowly press the banding onto the edge. Make sure it is aligned straight.
4. Activate the Adhesive: Set your iron to a medium heat setting. Place a clean cloth between the iron and the banding to protect it from direct heat. Gently press the iron along the banding, allowing the heat to activate the adhesive. Move the iron back and forth until the entire length of the banding is bonded to the substrate.
5. Trim the Excess: Once the banding is cooled and the adhesive has set, use a trim router or a hand-held edge trimmer to trim the excess banding from the sides. Be careful to maintain a flush edge with the surface of the substrate.
6. Finishing Touches: Lightly sand the edges with fine-grit sandpaper to remove any sharp edges or excess material. Wipe the edge with a clean cloth to remove any dust.
7. Inspection: Check the entire length of the banding to ensure it is securely attached and there are no gaps or bubbles. If any areas are not adequately bonded, you can reheat and press those areas again.
Tips for Best Results:
- Always test the heat setting on a scrap piece of banding to ensure it doesn’t scorch or melt the material.
- For long strips, it may be helpful to have an assistant help guide the banding as you iron it to prevent misalignment.
- Ensure your work area is well-ventilated, as heating the adhesive can produce fumes.
This guide provides a detailed overview of applying melamine edge banding. It’s useful for both novices and experienced woodworkers looking to achieve professional results. Would you like to include any specific tips or product recommendations based on your brand’s offerings?